Multiarch Docker Images
A few months ago I wrote about Docker and CoreOS on ARM. With the introduction of the C2 by Scaleway we did some changes to that infrastructure. To make it multiarch. That means we both use arm(hf) and x86_64 servers in one cluster, with the same Docker images. Why should you want this? Some architectures are better suited for some tasks, have a small app that doesn’t need much single thread power? Go for ARM. It saves you money, energy and you support innovation. (Probably some other reasons by I am no processor architect)
Get Started with multiarch Docker
Docker was built for x86_64 only. That didn’t last long as there began to be ARM ports, with their own special images. But never was multiarch support added to Docker.
The team behind the Multiarch docker repo (not surprisingly Scaleway) found a quite good “hack” to use multiarch on Docker. All images have the tag arch-version. So making an Ubuntu image amd64-xenial for example. (Tip: in a Debian based distro you can use dpkg --print-architecture in any script)
Run all on Intel
Need to test your images (or build, see further) you can do that on your Intel (or AMD…) machine with Qemu bindings to Docker. This allows you to emulate the architecture you’re building for. Doing that is quite simple: just do docker run --rm --privileged multiarch/qemu-user-static:register in case of any error just add --reset.
After this you can play with all the images on your Intel PC/Server.
Building your own images
Building images is quite simple (once you get it). You have to do a small preparation of a Makefile and some “comments” in your Dockerfile. For building the images you have 2 options: flow (and cheap) or fast (and expensive). More on that later.
Preparing the image
The exact format the multiarch team decided on is not fully clear. As currently method-g is in production we used this one. The GitHub repo gives a good idea but one example is never enough. In my example I’ll only compile for Intel and ARM. (Why? See later)
Here we chose armhf to be the default. #FROM multiarch/ubuntu-core:amd64-wily # arch=amd64 is a “comment” that is uncommented once the architecture is amd64. The same can be done for all other.
In the directory of the Dockerfile overlay-common must be present with all the files that have to be added to the Docker container. As well as overlay-ARCHITECTURE for architecture specific files. Note that these may not be empty for the Makefile.
Last copy the script in the Makefile and make sure you added the name of the repo so the build gets tagged correctly.
To start the build do make TARGET=ARCHITECTURE so for example make TARGET=amd64 and make TARGET=armhf in this case.
The tools an Makefile listed above are now also available in the Image Builder image from Scaleway.
Building the image
For building the images you can either use one Intel machine with Qemu or multiple machines with native builds. Why the second one? Qemu is slow and can be buggy. Builds can take a very long time and some things like Golang will fail. For this you better build it on a machine with the target architecture. For that I’ll be sharing our GitLab CI script that allows us to build multiple at once.
One machine
Simple to explain, see above. Make sure you registered Qemu with the one Docker command given at the top of the article.
Multiple machines
You are of course free to configure your own system, but I’m happy to share our GitLab CI script.
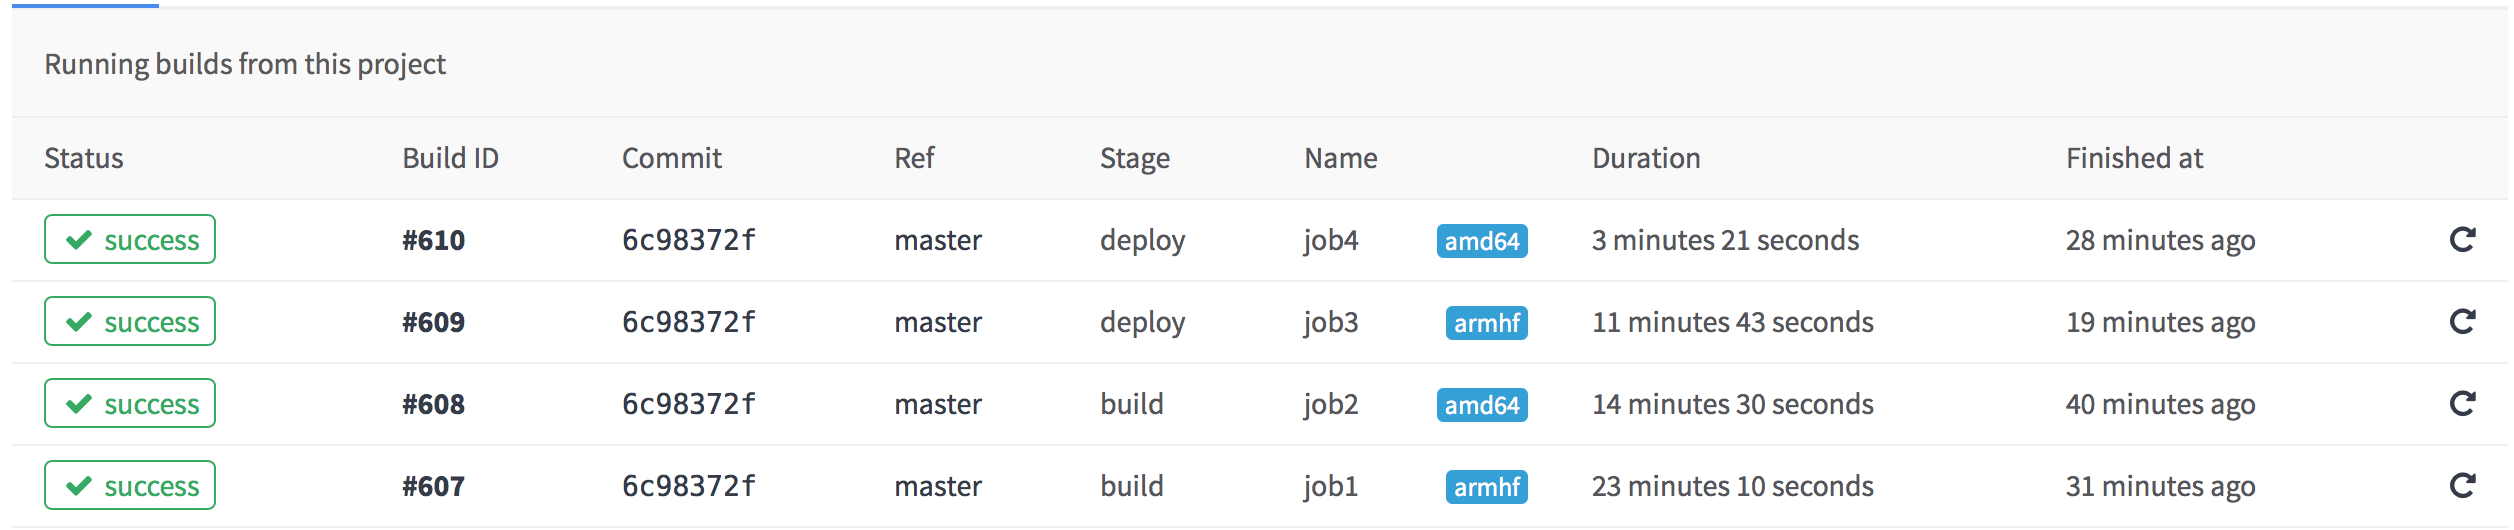
Each runner has a tag with the architecture in this case armhf and amd64, by adding this in the file the job will only be executed on the correct runner. These will run at the same time speeding up the build even more. As the deploy is separated it will wait on all builds before pushing the Docker image.
That’s all folks
That was short (not?). Should you have any questions/remarks on my setup feel free to Tweet me or contact the multiarch team (if you have a comment on their code, not mine)